
Final Project
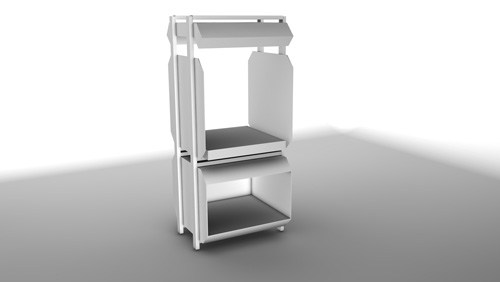
Vacuum Forming Machine
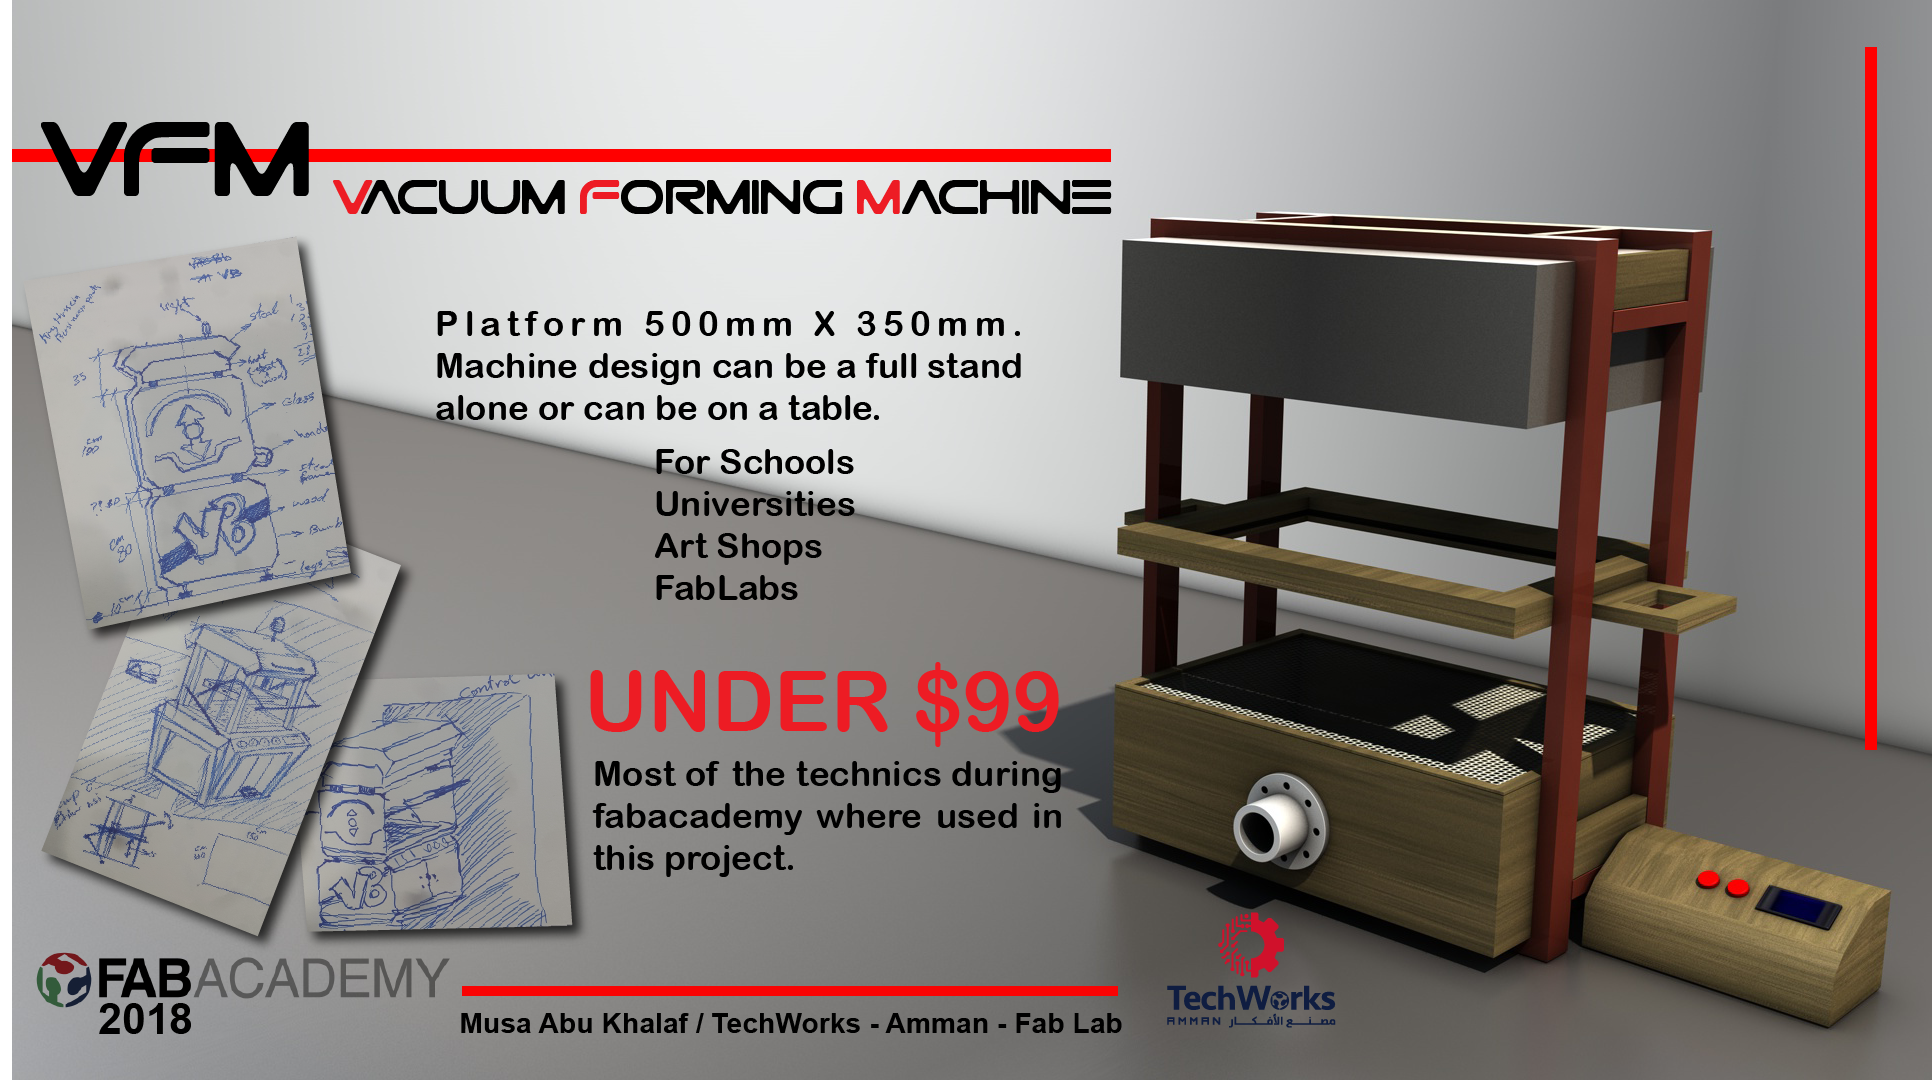
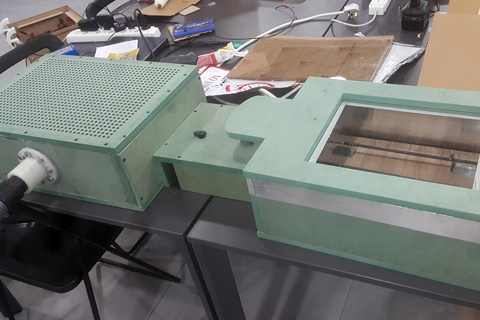
The platform will be 500mm X 350mm.
The machine design can be a full stand alone or can be on a table.
UNDER 99$
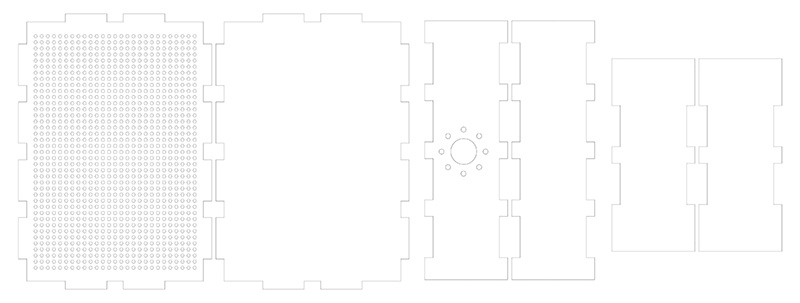
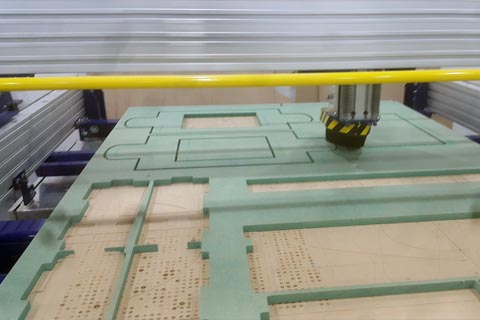
I used to generate the Box this web application it is very useful and helpful ( Boxes.py is an Open Source box generator written in Python. It features both finished parametrized generators as well as a Python API for writing your own. It features finger and (flat) dovetail joints, flex cuts, holes and slots for screws, hinges, gears, pulleys and much more .https://www.festi.info/boxes.py/index.html )
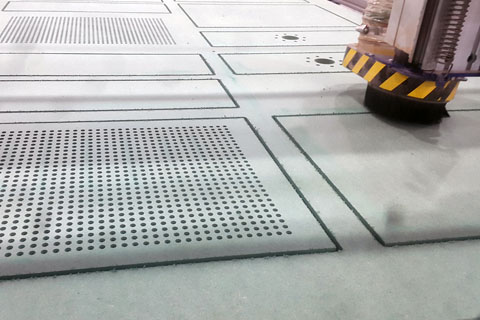
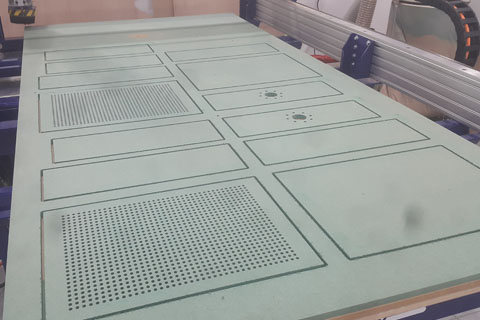
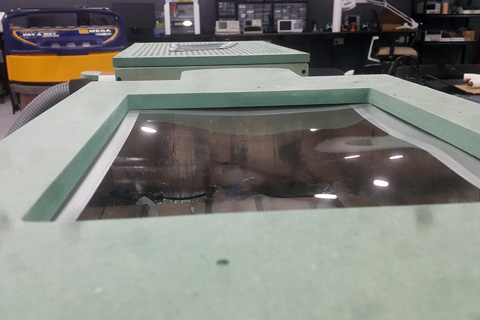
The primary function of this machine in this stage to repetition casting shapes as much as you want using plastic sheets. These posses deepening on heating a plastic sheet and them place it on top of the object, high vacuum machine eliminates all the air around the object you want to cast. (the difference in air preacher between two parts)
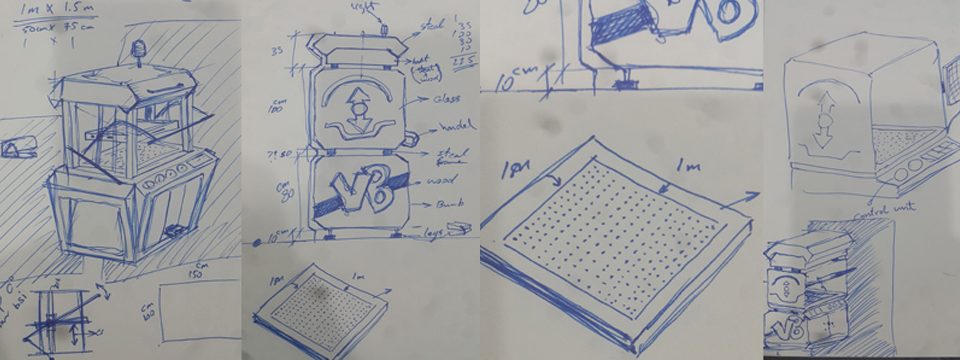
As I mention it before I want o to build this machine for a couple of reasons but the essential one, our lab needs to obtain one, for that I undertook a research about and how to construct one, From a classic method to highly complicated function one
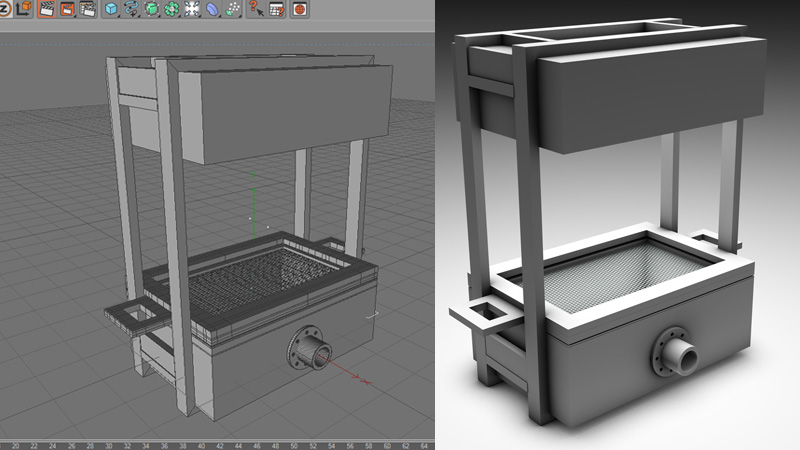
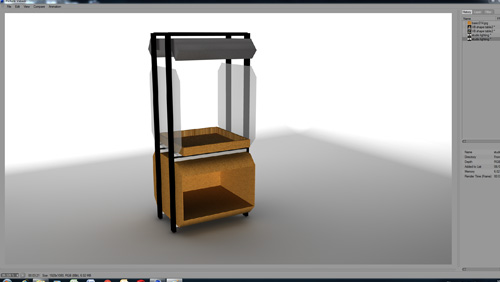
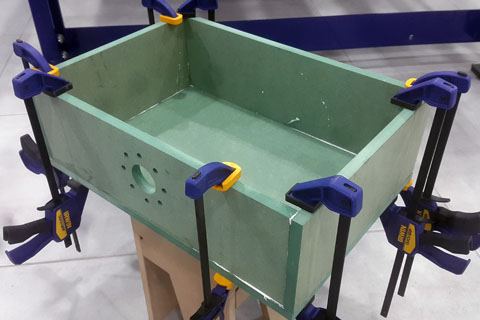
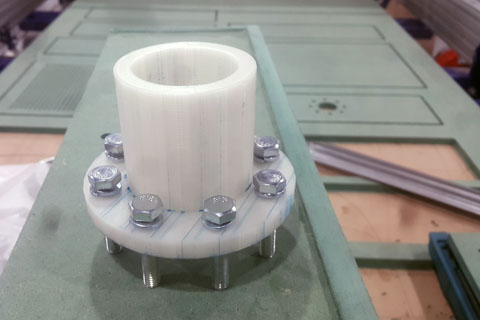
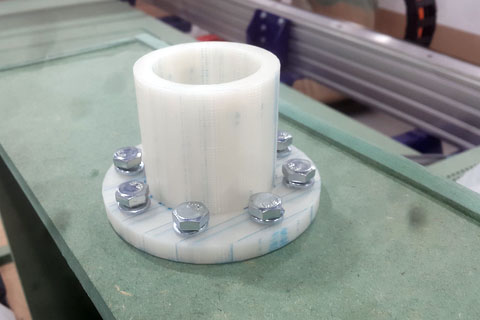
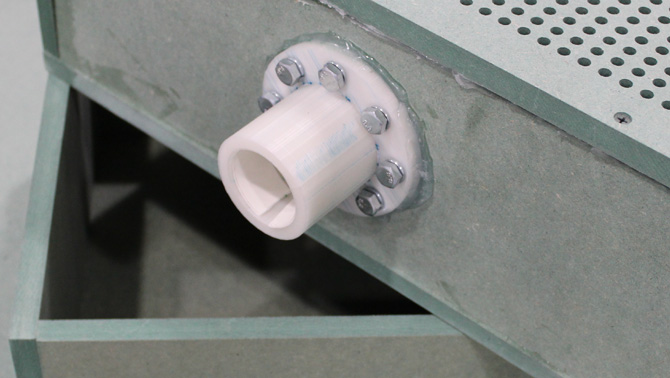
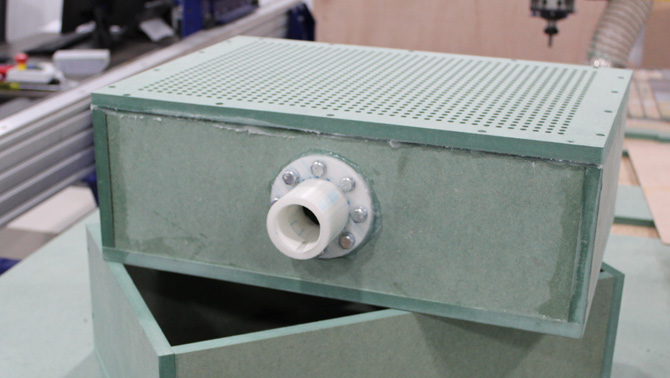
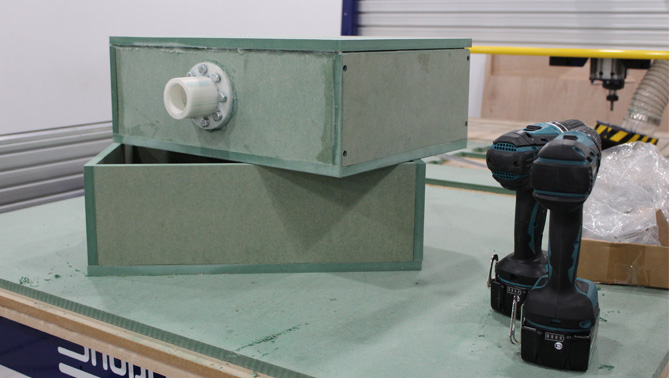
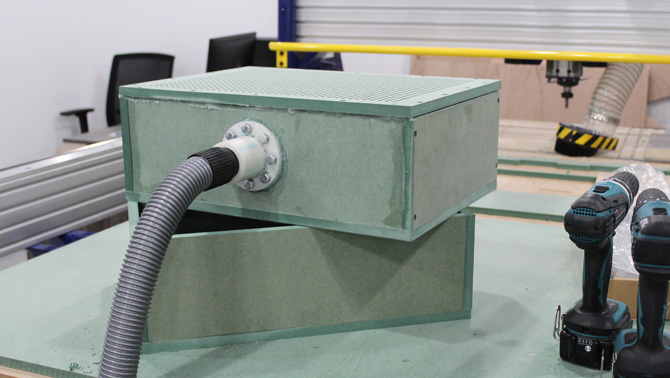
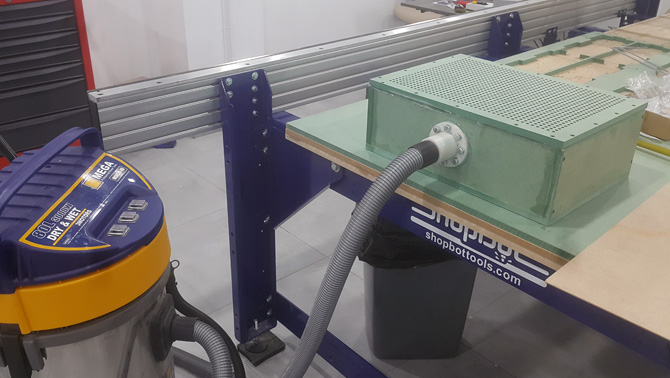
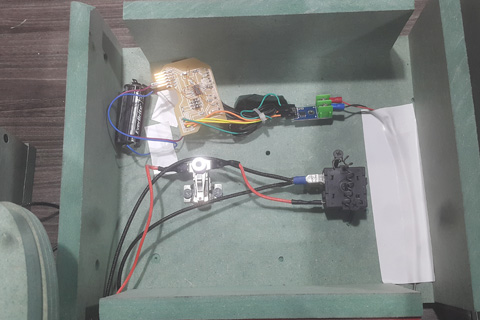
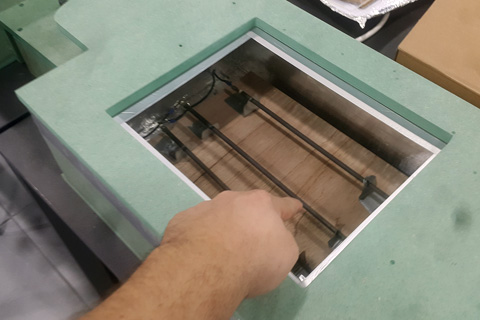
During this Project, I will design the two boxes on as the vacuum box and the other as a heating box, Design the stand structure for the whole machine, designing the air vacuum adapter unit. Electronics I will use the old input and output device I build in previous tasks.
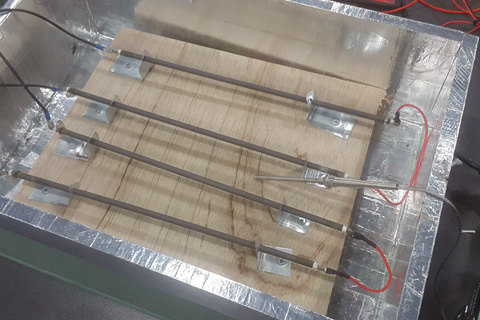
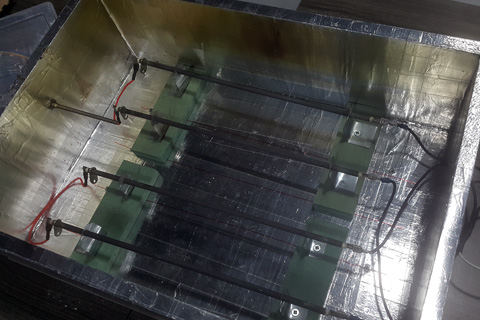
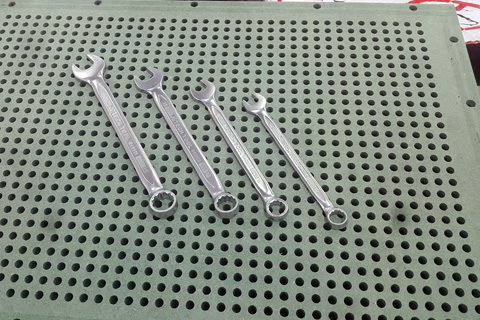
All materials and components from the local market as (Wood, Wires, and metal) and old oven (the hearting rods)
My building cost.
Wood ...35$
Metal ...25$ option if you want the stand
Wires ...3$
Aluminum foil rolls... 5$
3D printing (Vacuum Adapter)... 15$
Screws ....0.5$
Sealed rubber ... 2.5$
Temp. sensor ... 20$
Oven roads ( donate from and old used oven with other parts )
Testing matrials .... 35$
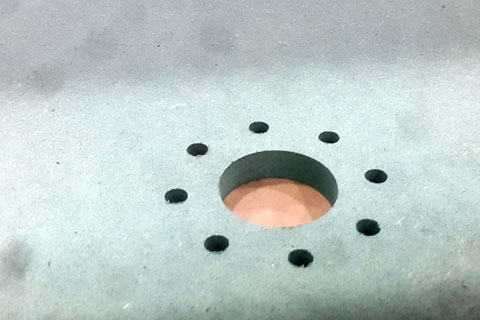
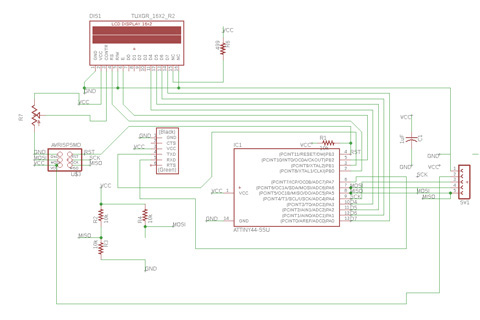
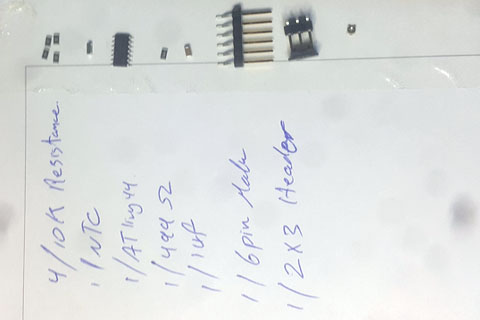
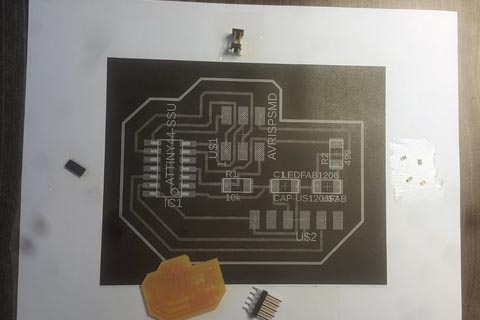
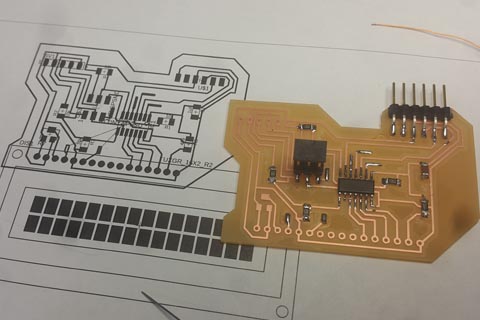
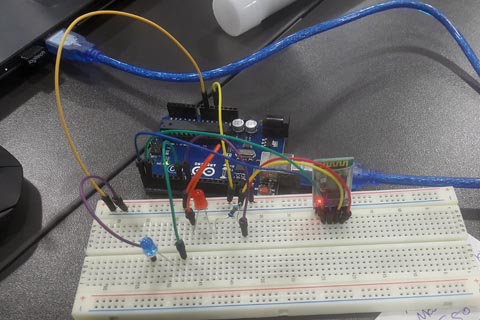
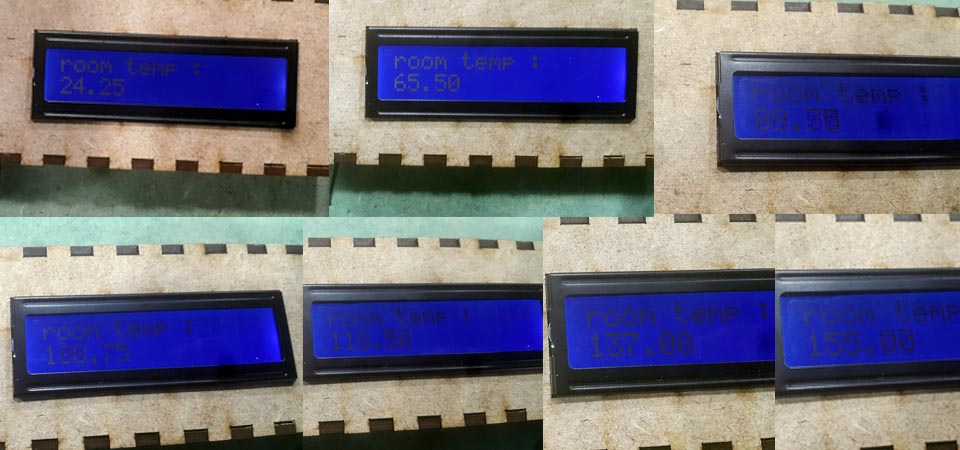
I used the for the board the old design in Input and out put assignments but I add a Thermocouple sensor and it's Board MAX 6755
TEMP Sensor Code
#include <tinySPI.h>
#include <LiquidCrystal.h>
#include <MAX6675_Thermocouple.h>
// Status LED Pin
//int CS = 10; 9 // CS pin on MAX6675
//int SO = 12; 8 // SO pin of MAX6675
//int SCK = 13; 7 // SCK pin of MAX6675
int units = 2; // Units to readout temp (0 = raw, 1 = ˚C, 2 = ˚F)
double temperature = 0; // Temperature output variable
const int rs = 10, en = 8, d4 = 3, d5 = 2, d6 = 1, d7 = 0;
LiquidCrystal lcd(rs, en, d4, d5, d6, d7);
// Initialize the MAX6675 Library for our chip
MAX6675_Thermocouple thermocouple(4,5,6);
// Setup Serial output and LED Pin
// MAX6675 Library already sets pin modes for MAX6675 chip!
void setup() {
//Serial.begin(9600);
lcd.begin(16, 2);
// Print a message to the LCD.
lcd.print("room temp :");
}
void loop() {
// Read the temp from the MAX6675
temperature = thermocouple.readCelsius();
if(temperature < 0) {
// If there is an error with the TC, temperature will be < 0
//Serial.print("Thermocouple Error on CS");
//Serial.println( temperature );
} else {
//Serial.print("Current Temperature: ");
//Serial.println( temperature );
}
lcd.setCursor(0, 1);
lcd.print(temperature);
// Wait one second before reading again
delay(1000);
}
These are the forst test useing Arduino.

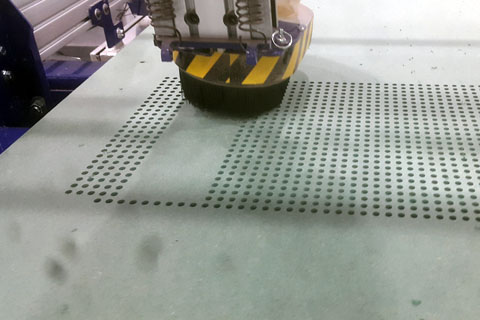
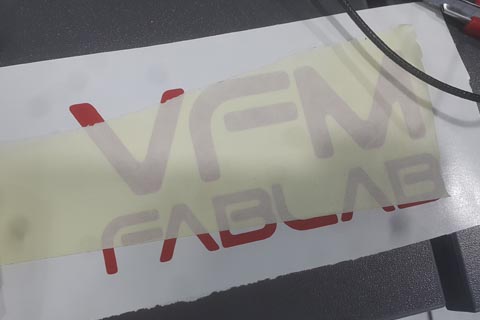
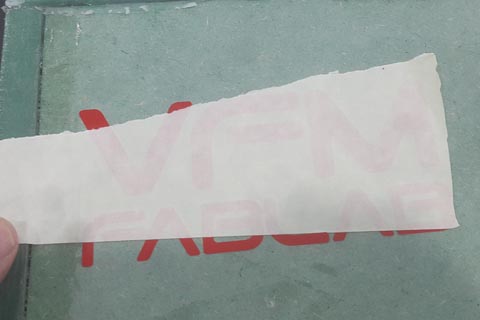
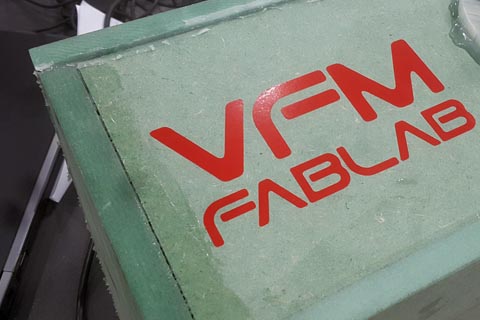
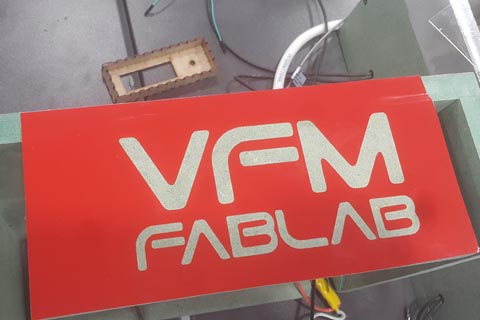
Designing the name od the machine and using the vinal cutter, the 2 parts i used as you can see.

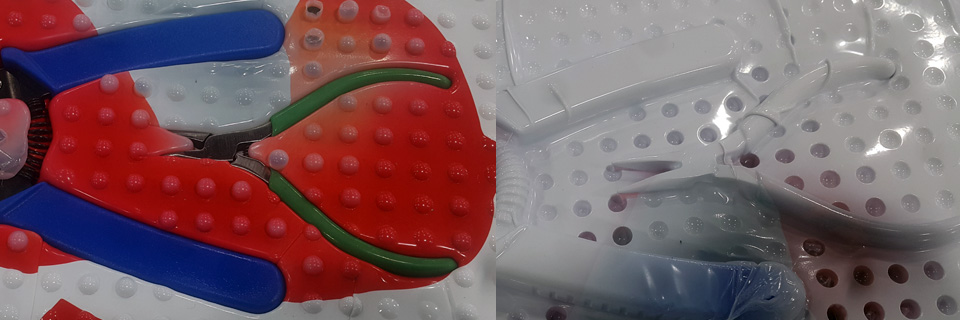
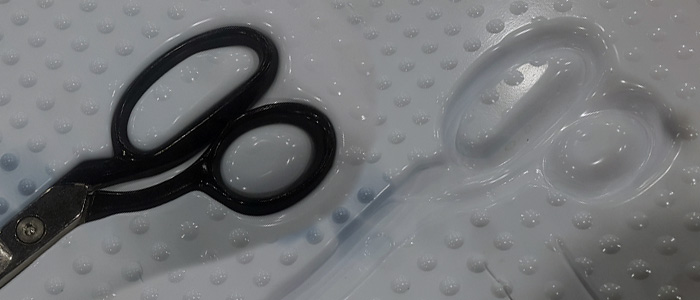
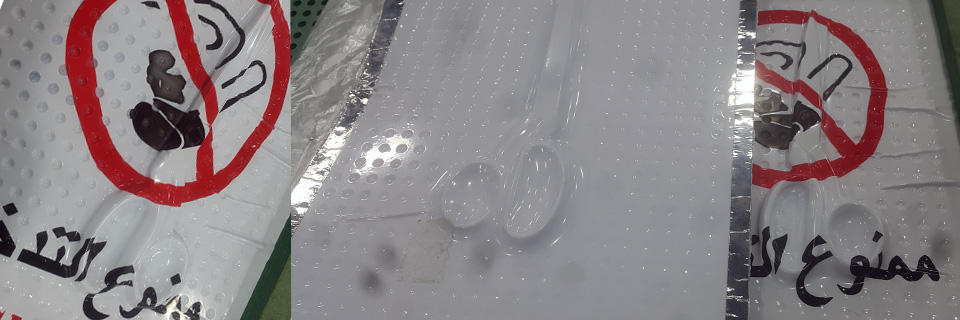
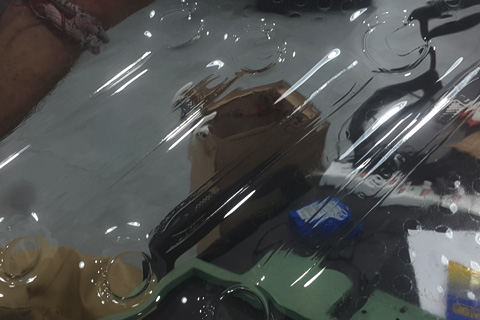
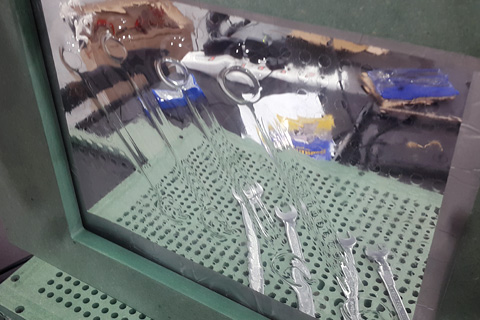
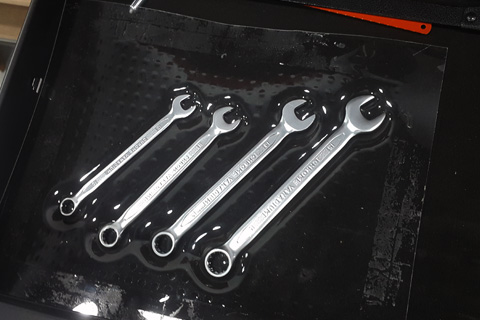
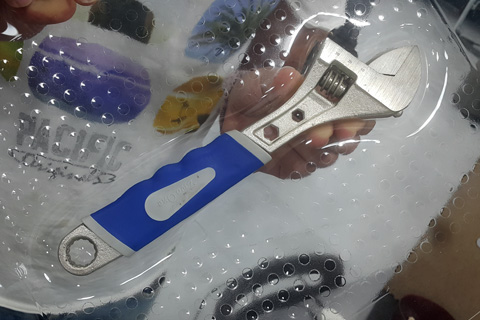
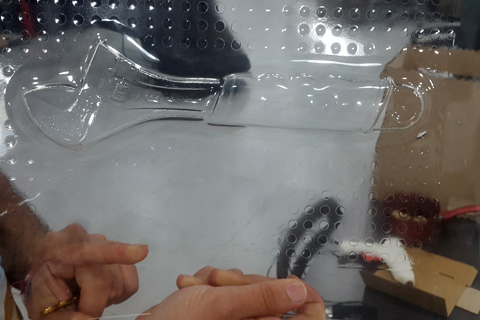
These are some of the tests on plastic materials, and the main issue was the temp of the material where it starts to become soft, as you can see when it becomes softer it will go around the object and it becomes for hard to take out the object, or you will loess the air pressure because the plastic will go throw the wood due to so thin. The other one I face was if the object has some plastic or rubber parts, the plastic sheets will stick to the plastic on the object or it will affect the rubber. Due to the high temp and that was when I got 240c temp, but I keep it the temp between 150 to 180c it works fine without facing these issues, and this is one of the things you need to remain it in your mind, you need to build up your own data, regarding the type of plastic sheets your using, do a test and them vacuum the shapes you want.
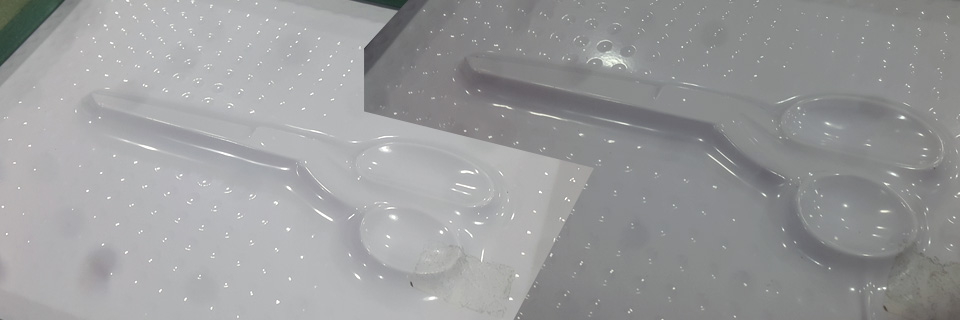
Testing using Acrylic 1mm / Temp 200C time 5min

I found out with the other test and this one that you need to place the heated plastic sheet first then turn on the vacuum machine, so you can avoid the overlap of the material.
Another good Testing using Acrylic 1mm / Temp 200C time 8min's
Final test
Final Presentation Movie
To download the files, right click with the mouse and chose “save link as”esentation from Musa Abu Khalaf on Vimeo.

 Vac 3d Air Cup Big Vac 3d Air Cup Bigg
3D Switch
Vac 3d Air Cup Big Vac 3d Air Cup Bigg
3D Switch
 Air Box